Full Title: Game 3001 Professional Brief 2 ) Captains Table Environment - Texturing in UE4 Setup and Export (Week 8) (21/11/2022)
3DSMax Making Messy Piles)
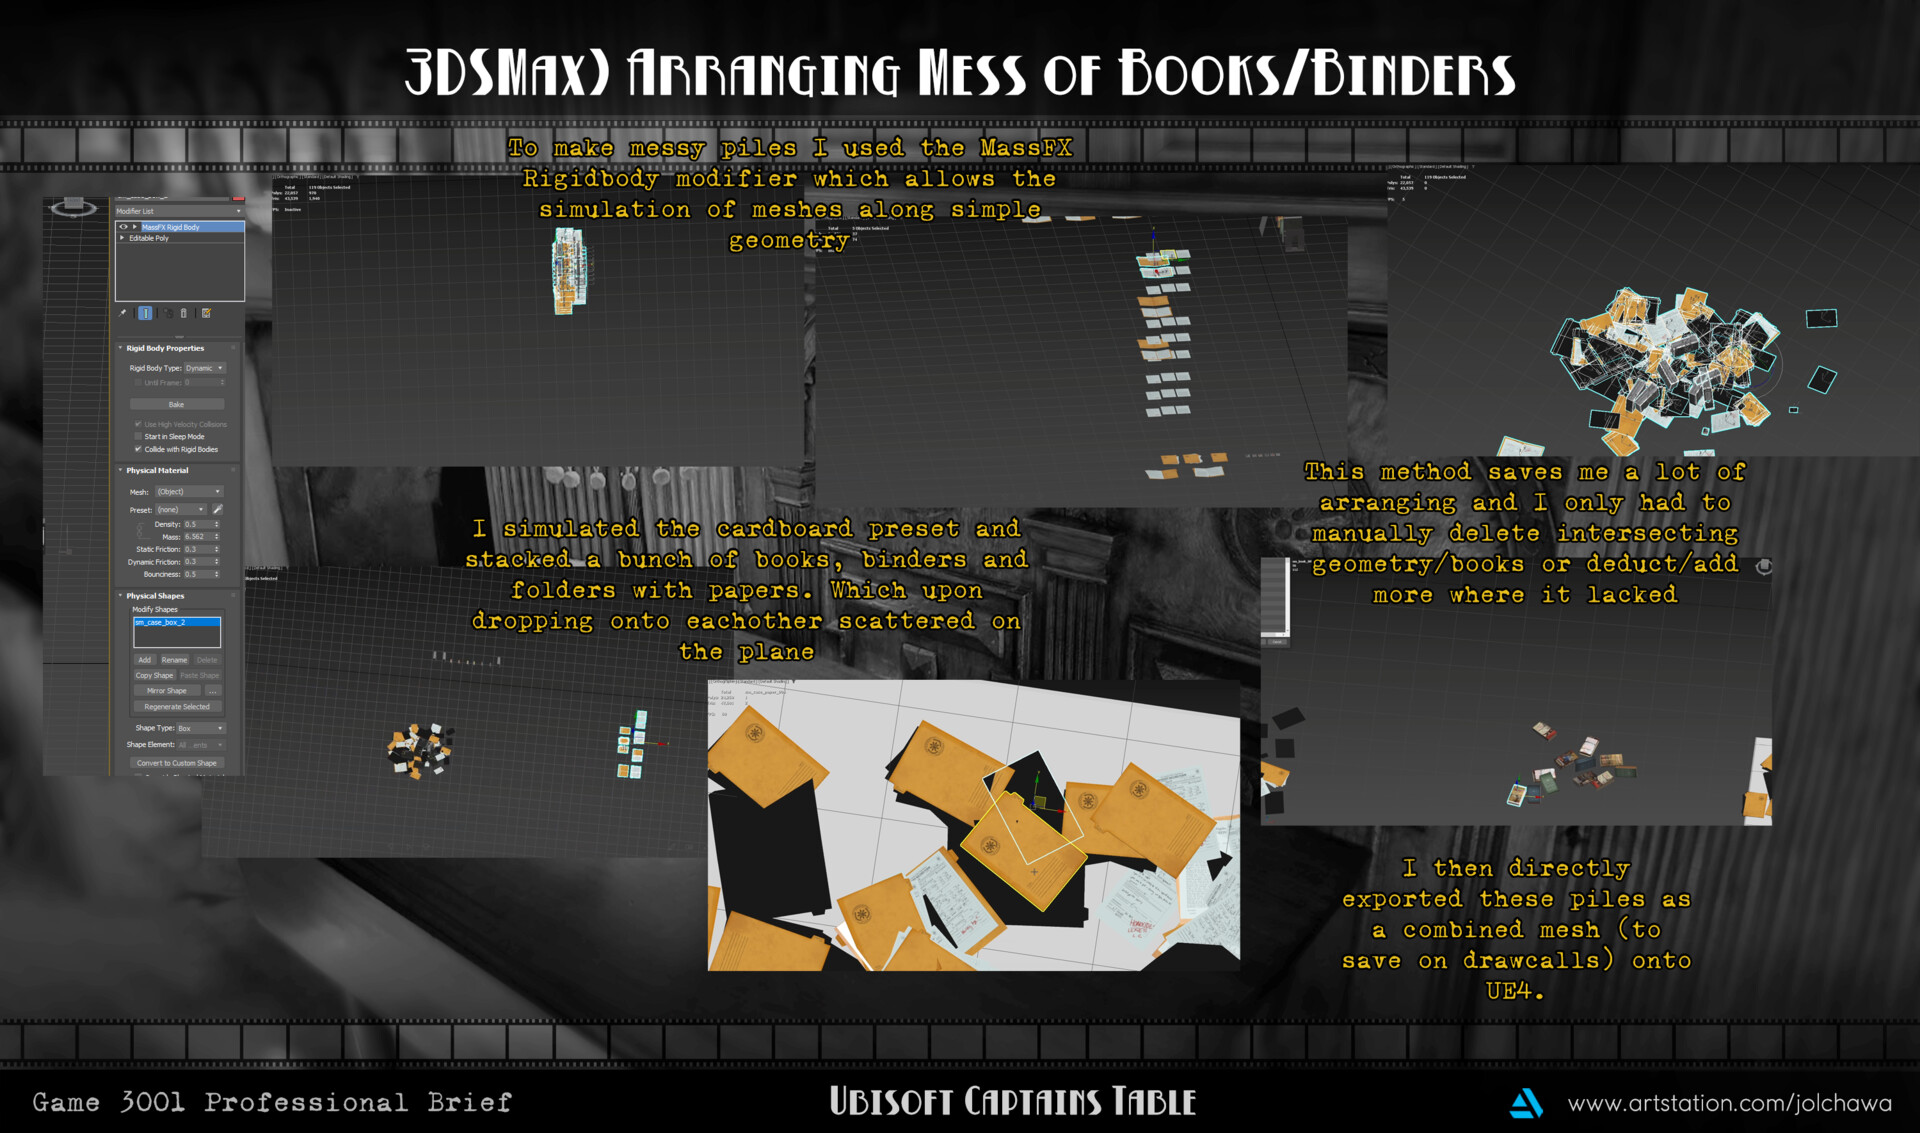
After all my texturing was done I went on to making more diverse meshes through my modular kit. The primary meshes are messy piles. By combining assets together into larger scale messy piles I could eliminate large amounts of draw calls by individually placing the modular kits in scene plus the nuisance of moving said large piles about. Fortunately 3DSMax has a modifier called MassFxRigidbody that gives simulation rigid body collision to any mesh and lets it be affected by material properties. Whilst I didn’t need pure realism in simulation nor its animation keyframes I went on to copy a lot of my books, arch binders and general purpose folders before dropping them from a notable distance of a few feet down. After falling I had to collapse the modifier and delete the keyframe to ensure none of the falling animation was remaining in the baked final pose. I repeated this pipeline a few times due to the fickle nature of 3DSMax and crashing since simulation both animation and collision can get very intensive (even on very low poly meshes). However my work was not done since a lot of overlap still remained and I realised some of the books/folders had even poked under the floor plane. As such I manually adjusted each mesh before assembling them on point 0,0 for export.
3DSMax Setup for Export)
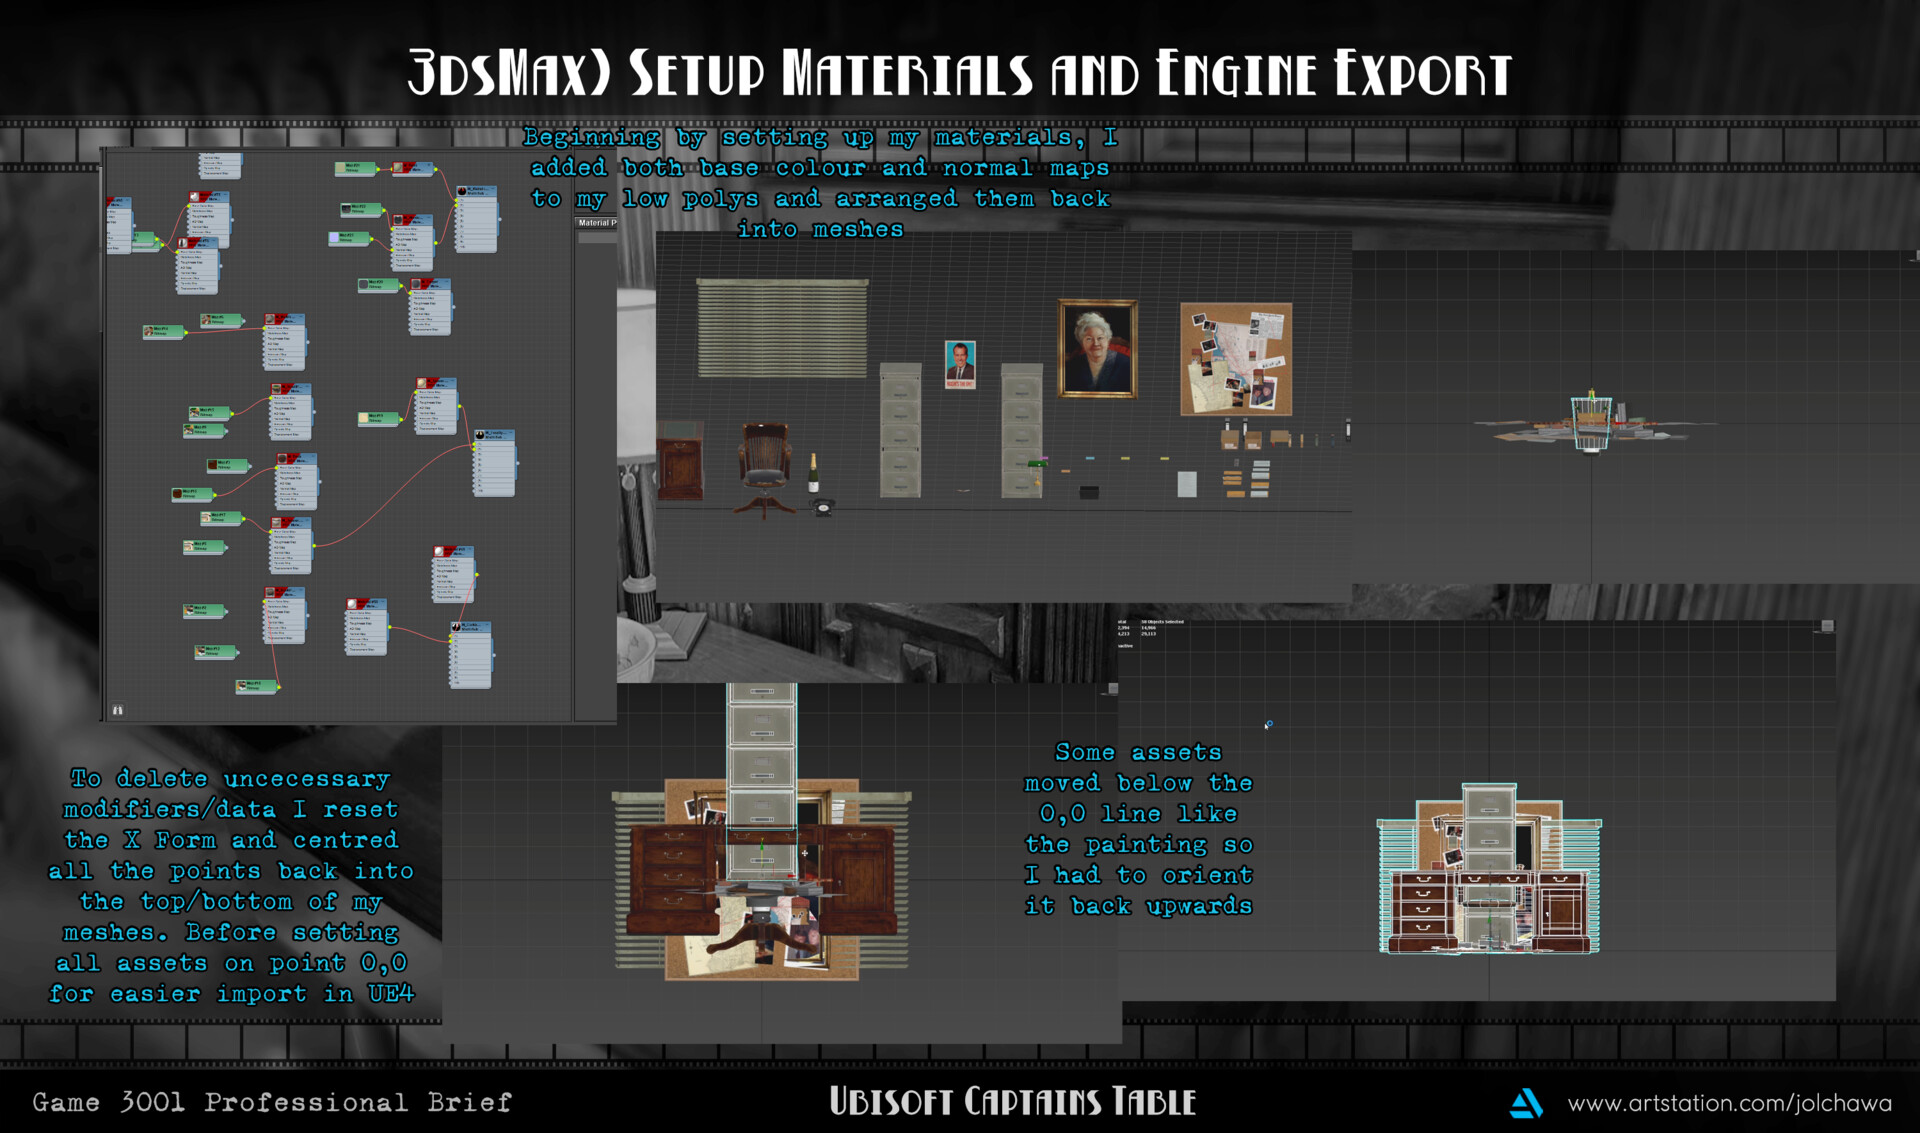
The wrap up export for 3DSMax came luckily without issues. All that had to be done was to reset the transform and pivot points on my meshes, centralise them on point 0,0 and remove unnecessary data with deleting X Form. Whilst on point 0,0 I did move a few meshes up since they were clipping below the floor plane and would appear through the ground in the scene if I did so, while also rotating wall paintings/meshes accordingly. Another core step was setting up my sub object materials, since some more complex meshes like the corkboard or the telephone needed to be split into 2 for engine work or simply contained multiple texture sheets to spruce up the mesh. I did this with the slate material editor in 3DSMax and assigned varying material id values of 1 and 2 to my meshes.
UE4 Setup and Lighting)

After aligning everything to point 0, I went to export. Following import I realised that a lot of my assets were quite small in comparison to the in scene grey boxed versions. Through some troubleshooting I realised this was due to my import settings lacking a crucial detail, scale value. All my grey boxed assets are scaled up by 9 so I began to import my finalised assets in through this method as well. By having poor scaling it would greatly affect my lighting bakes since the meshes are too small/too big for my lighting setup to get to grips with it. Following this I made a few new folders to organise materials, textures and my static meshes. Fortunately all my imports went through smoothly and my textures showed up well following some minor tweaking by disabling sRGB on my linearly channel packed maps.
Peer Feedback)
Following setup I got some helpful advice and feedback from peers on how to push my scene further. The first was to add more variety in the form of decals to both the carpet and walls. Since the office is rather dirty and unkempt decals would help breakup the tiling of texture. The secondary was to add more chip and wear onto my chair's leather and tone down the roughness values to make it less shiny. Considering how well used it would be with Columbos hounding investigations over the years it would have taken quite the beating from late night investigating. The final was to generally add more damage to other assets such as folds/yellowish paper to my files/folders and desaturate the scene since it felt very orange and possibly hang up a light fixture.